Jolt Connect - STM32 Programmer (ST-Link/V2-1)
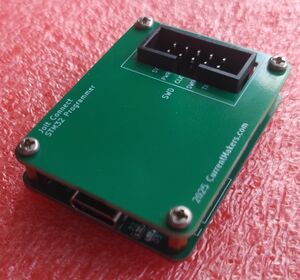
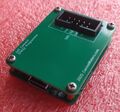
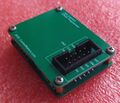
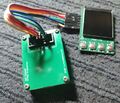
Introducing the new and improved STM32 programmer & debugger, the CurrentMakers Jolt Connect. The goal for this was to create the perfect STM32 Programming and Debugging tool.
This is our new and greatly improved version. The original is documented here: DIY STM32 Programmer (ST-Link/V2-1).
BUY Jolt Connect here: Jolt Connect on CurrentMakers
Videos
This first video cover the thoughts behind creating the Jolt Connect and why it was designed as it is.
JLCPCB kindly offered to sponsor the prototypes. This video goes through the ordering process:
The following video document the first prototype of the final device. All checks out beautifully.
Christmas present (rev B)
Reasoning for new design
Having used the original design for years some issues have crept up. This section dives into those issues and suggest how they could be improved.
USB-A
The original device used a through-hole USB-A connector. From a manufacturing point of view this connector was "troublesome" as it required hand soldering and quite frankly a bit outdated. The new version should be using USB-C.
Programming header
The original device used a 2x5 IDC header soldered on the board "sideways". This again required hand soldering and it was quite tricky to solder as the board thickness does not match the spacing between the pins on the header. The new version should use a SMD regularly mounted connector.
Power
The original version used a 3.3V LDO rated at 100 mA. This is more than enough, BUT it does limit the amount of power which can be supplied to target devices. The new version should allow more power.
Schematics
The schematics is largely identical with the original version.
The main changes are the USB connector and the LDO.
Factory firmware
The Jolt Connect have been designed to run multiple different firmwares. Being based on the STM32F103 MCU there is no built-in DFU bootloader. We therefore deliver the device with a DFU Firmware already loaded. This enables flashing of any firmware.
Jolt Connect DFU
The STM32F103CB MCU contains 128 kB of flash. In order to be able to flash a regular bootloader in the first part of the flash memory, we locate our bootloader at the top 16 kB of flash, at address 0x801c000 to be exact. This will enable the DFU to update any part of the flash - except the top 16 kB.
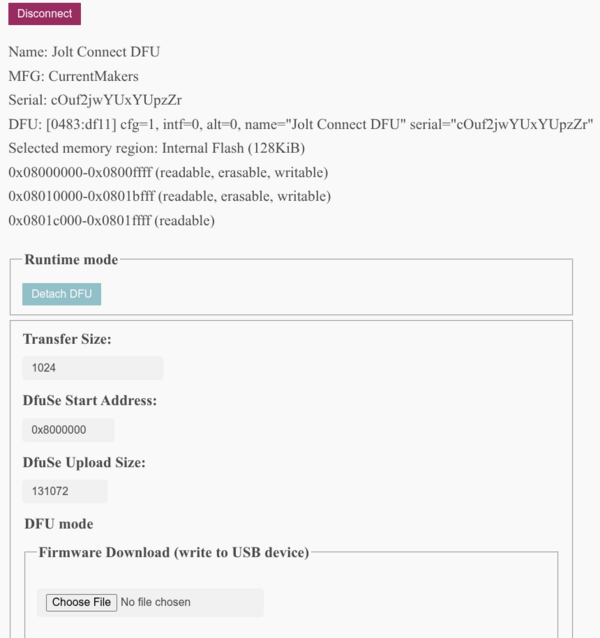
Viewed from the webdfu the layout looks like this:
Name: Jolt Connect DFU
MFG: CurrentMakers
Serial: pzhYrdOufu2Eh36G
DFU: [0483:df11] cfg=1, intf=0, alt=0, name="Jolt Connect DFU" serial="pzhYrdOufu2Eh36G"
Selected memory region: Internal Flash (128KiB)
0x08000000-0x0800ffff (readable, erasable, writable)
0x08010000-0x0801bfff (readable, erasable, writable)
0x0801c000-0x0801ffff (readable)
Jolt Connect Jump
The jump is a separate binary located at the normal boot location at 0x8000000. It does nothing except jump up to the DFU bootloader at 0x801c000.
Flashing the factory firmware
st-flash erase && st-flash write ~/src/jolt_connect/firmware/boot_dfu/Debug/boot_dfu.bin 0x801c000 && st-flash write ~/src/jolt_connect/firmware/boot_jump/Debug/boot_jump.bin 0x8000000
Or as individual commands:
st-flash erase
st-flash write ~/src/jolt_connect/firmware/boot_dfu/Debug/boot_dfu.bin 0x801c000
st-flash write ~/src/jolt_connect/firmware/boot_jump/Debug/boot_jump.bin 0x8000000
Notice that the actual dfu bootloader is flashed at the upper part of the flash memory, while the jump is flashed at the bottom. The jump - IF still there - will jump to the dfu bootloader.
After flashing the device will, to the Linux kernel, look like this:
[362290.392700] usb 3-10.5.3: new full-speed USB device number 110 using xhci_hcd
[362290.494580] usb 3-10.5.3: New USB device found, idVendor=0483, idProduct=df11, bcdDevice= 2.00
[362290.494586] usb 3-10.5.3: New USB device strings: Mfr=1, Product=2, SerialNumber=3
[362290.494588] usb 3-10.5.3: Product: Jolt Connect DFU
[362290.494589] usb 3-10.5.3: Manufacturer: CurrentMakers
[362290.494591] usb 3-10.5.3: SerialNumber: 6D7232965686
The Linux kernel will identify that as a STM32 device in DFU mode:
Bus 003 Device 110: ID 0483:df11 STMicroelectronics STM Device in DFU Mode
Flashing ST-Link firmware
Notice! this approach may or may not be "legal" although it does use ST provided software for the flashing.
Prerequisites
In order to go through these steps you will need the following:
- A Jolt Connect with DFU firmware (previous section)
- A working version of Java (no idea what version but works with openjdk version "21.0.9-ea")
- A copy of the ST-Link bootloader - Google for it - typically named Unprotected-2-1-Bootloader.bin
- A copy of ST's STLinkUpgrade version 3.2.12 (can still be downloaded or Google)
Install bootloader
First step is to verify the Jolt Connect is plugged in and running. The red/blue leds will be blinking at about 2 Hz and it should show up as a DFU device.
Now point your browser to: https://devanlai.github.io/webdfu/dfu-util/.
Click on the "Connect" button:
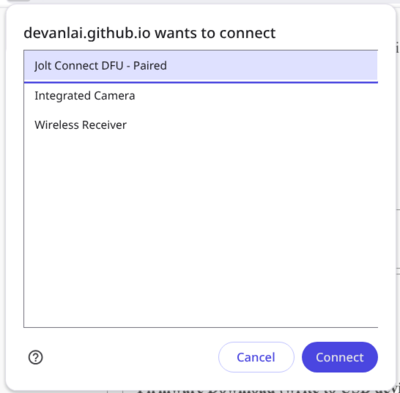
Select the Jolt Connect and click "Connect".
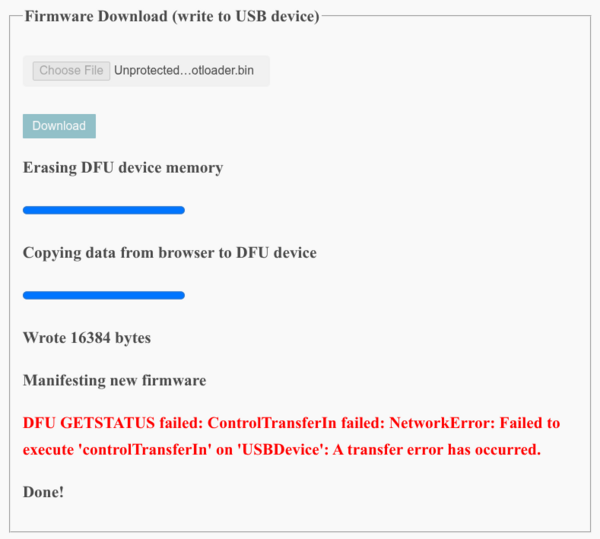
Now click Choose file and find the bootloader.
Finally click "Download". Flashing should take perhaps 10-15 seconds and MAY result in an error (because the device resets and is no longer in DFU mode.
That's it - you can now move on to the next step.
Flash ST-Link firmware
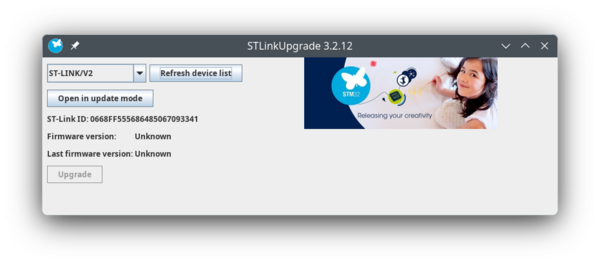
You can now fire up the ST-Link Update tool:
lth@nb7:~/src/jolt_connect/stsw-link007$ java -jar STLinkUpgrade.jar
This should result in the following window:
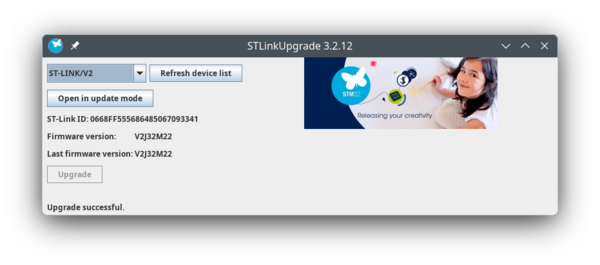
Click the "Open in Update mode" button and select STM32+MSD+VCP followed by "Upgrade"
That is it - you now have a functional (but old) ST-Link.
Upgrade to latest version (optional)
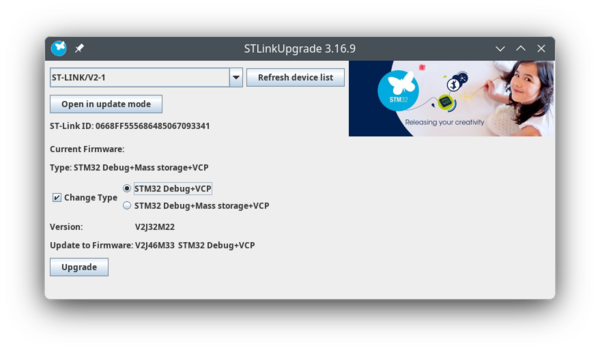
The device flashed in the previous section can be upgraded with the latest version of the upgrade tool, which is part of STM32CubeIDE. Under "Help/ST-Link upgrade":
Notice the option of changing type which can be used to "disable" the Mass Storage device (which is not very useful).
Flashing Black Magic Firmware
See this page for details on how to build: Black Magic Probe
Flashing CMSIS DAPlink
See: CMSIS DAPlink
