STM32 FreeRTOS
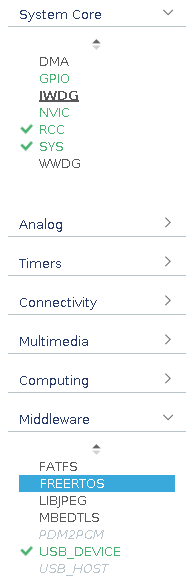
FreeRTOS is a real-time operating system for embedded systems. On MCUs based on ARM Cortex-M cores a standardised API exists which is known as CMSIS RTOS. This API is built on top of FreeRTOS. Two different versions of CMSIS RTOS exists: v1 and v2. Except from the queue handling they are almost identical.
STM32CubeMX includes an option to use FreeRTOS. In an earlier life, I did quite a lot of development on ESP32, and that, due to it's dual-core design, is very much centred around FreeRTOS. Back the, I grew to hate FreeRTOS.
The examples on this page is using a STM32F411 based Black Pill development board.
Concepts
While FreeRTOS call itself a "real-time operating system" it is essentially merely a task manager and scheduler.
Multiple tasks can be created and each task will have it's own reserved stack and heap space.
Tasks
Tasks are essentially an endless loop and the task can operate in one of four different states:
- Running
- Blocked
- Suspended
- Ready
STM32CubeIDE
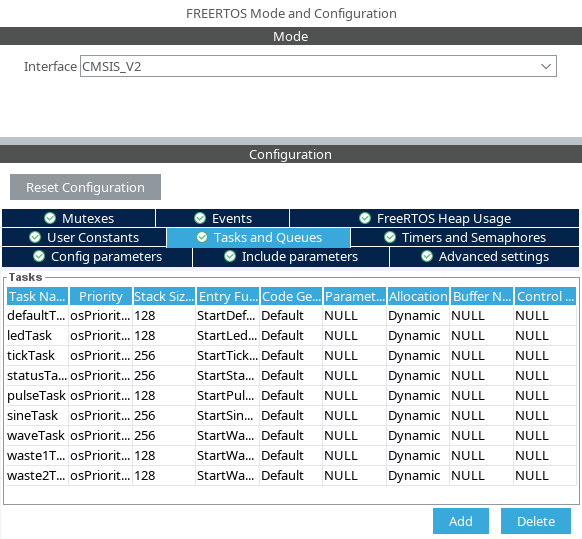
Queues can be added and modified through STM32CubeMX. Here is a list of queues:
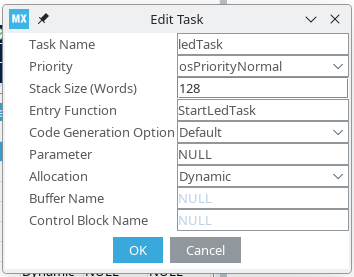
Clicking "Add" or double clicking on any of the existing tasks will pop up an edit window:
The code
The above definition result in the following code. First a couple of variable declarations:
/* Definitions for ledTask */
osThreadId_t ledTaskHandle;
const osThreadAttr_t ledTask_attributes = {
        .name = "ledTask",
        .stack_size = 128 * 4,
        .priority = (osPriority_t) osPriorityNormal,
};
Based on these variables, the task can be started:
/* creation of ledTask */
ledTaskHandle = osThreadNew(StartLedTask, NULL, &ledTask_attributes);
The task itself is merely an endless loop:
/* USER CODE BEGIN Header_StartLedTask */
/**
 * @brief Function implementing the ledTask thread.
 * @param argument: Not used
 * @retval None
 */
/* USER CODE END Header_StartLedTask */
void StartLedTask(void *argument)
{
    /* USER CODE BEGIN StartLedTask */
    /* Infinite loop */
    for (;;) {

        osDelay(500);

        HAL_GPIO_TogglePin(LED_GPIO_Port, LED_Pin);

    }
    /* USER CODE END StartLedTask */
}
Semaphores
Semaphores are used to synchronise tasks. A task can acquire a semaphore (without any performance penalty) and then the task will continue execution once the semaphore is released from another task.
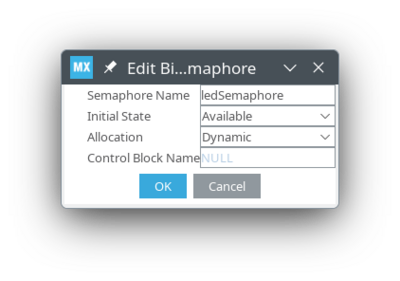
STM32CubeMX
The Code
First a couple of variables need to be defined:
/* Definitions for ledSemaphore */
osSemaphoreId_t ledSemaphoreHandle;
const osSemaphoreAttr_t ledSemaphore_attributes = {
  .name = "ledSemaphore"
};
The Semaphore can now be created:
  /* creation of ledSemaphore */
  ledSemaphoreHandle = osSemaphoreNew(1, 1, &ledSemaphore_attributes);
Usage
In the receiving task we acquire the semaphore:
/* USER CODE END Header_StartLedTask */
void StartLedTask(void *argument)
{
  /* USER CODE BEGIN StartLedTask */

    osStatus_t ret;

    /* Infinite loop */
    for (;;) {

        ret = osSemaphoreAcquire(ledSemaphoreHandle, osWaitForever);

        if (!ret) {
            HAL_GPIO_TogglePin(LED_GPIO_Port, LED_Pin);
        }

    }
  /* USER CODE END StartLedTask */
}
This task will use zero cpu cycles while waiting. We can now toggle the led from another task thus:
osSemaphoreRelease(ledSemaphoreHandle);
Mutexes
To be added
Queues
To be added


